Approvals
7 min
Sometimes, ensuring that communications that are posted to the platform adhere to your organization's standards is of the utmost importance. Buy utilizing approvals, admins can delegate approval access to trusted leaders and admins.
The Approvals module can be enabled by reaching out to [email protected].
Types of Approvals
Approvals can be enabled for the following modules:
- Announcements
- Events
- Newsletters
- Surveys
- Direct Messages
- Recognitions
Each of these modules can be activated separately.
Approval Setup
- Navigate to the Approvals section of the Admin Panel using the left panel menu.
- Click on "(Module Name) Approval Configuration"

Approval configuration
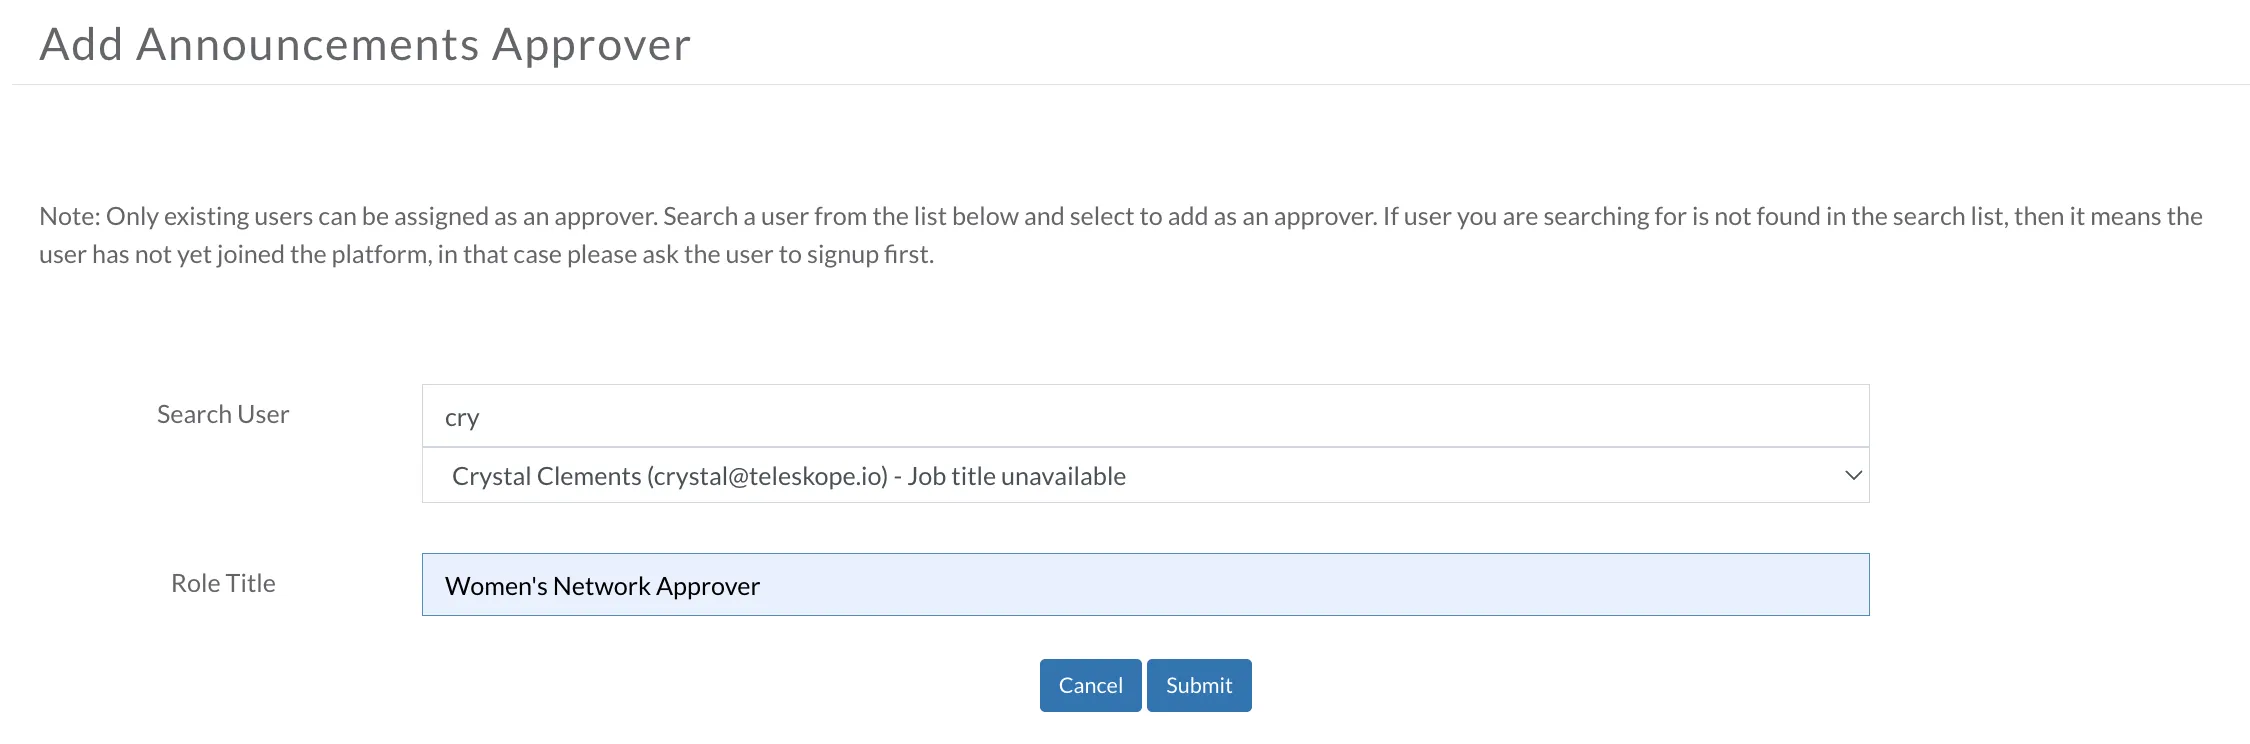
- In the resulting window, click the blue + button to add a Stage 1 approver.

- Search for the name of the approver and select it from the drop down.
- The Role Title field is optional. It can help group leaders differentiate between group specific approvers.
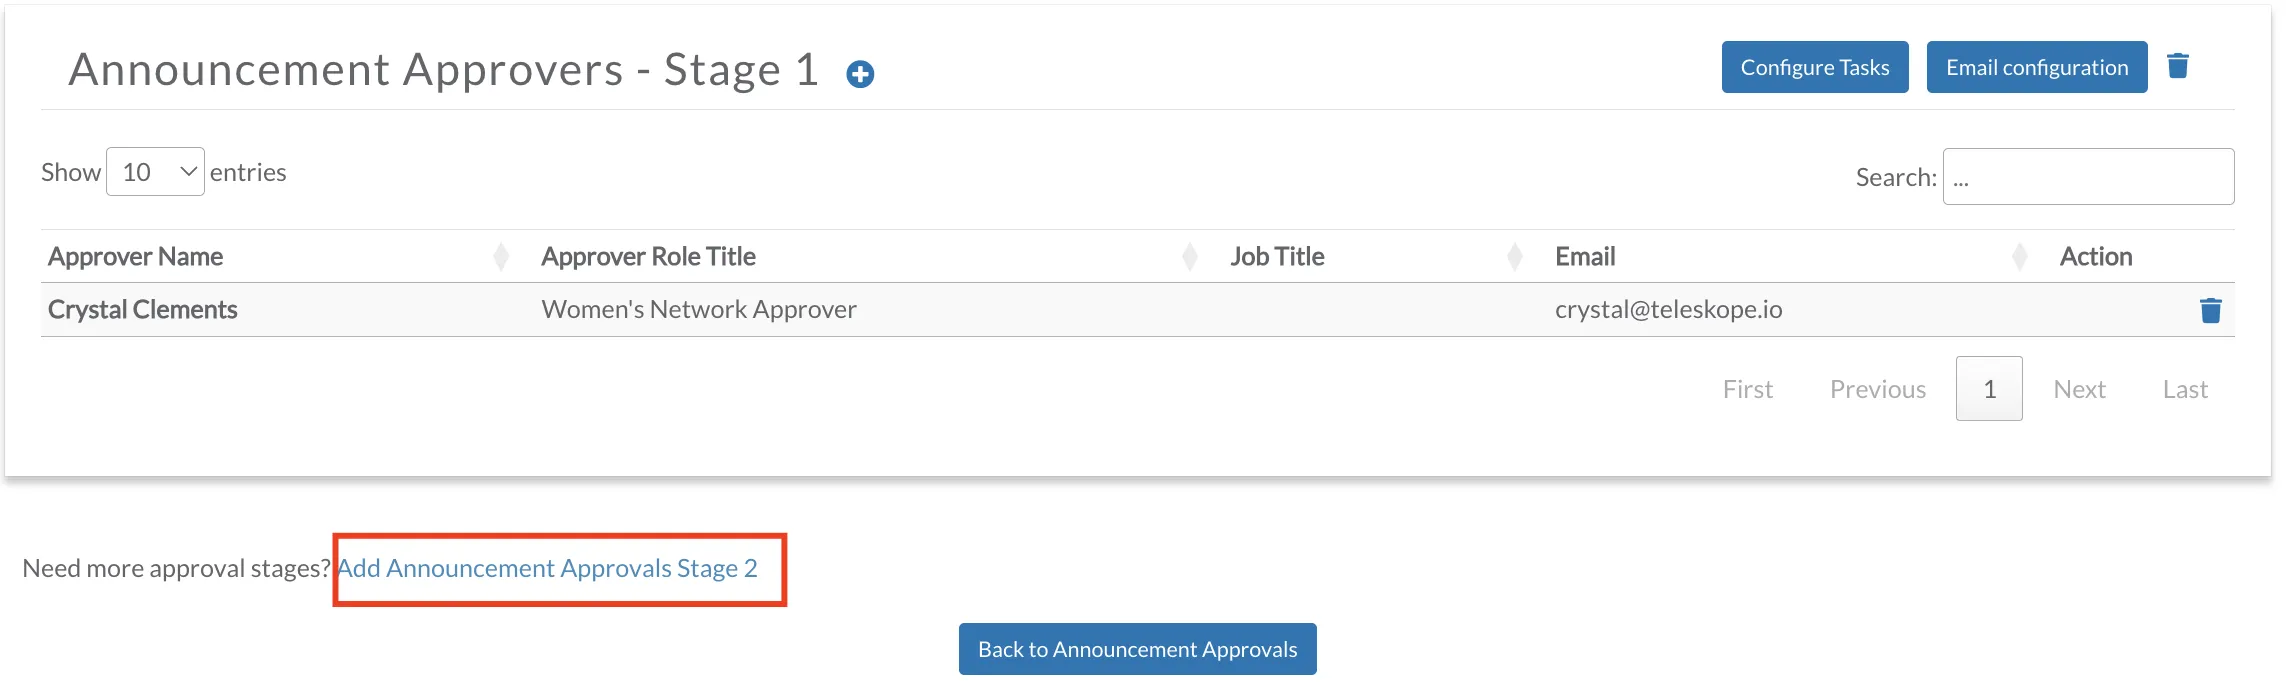
- Added approvers can be removed by clicking the bin icon.
- There is no limit to the amount of approvers who can be configured.
- To add Stage 2 and 3 approvers, click the corresponding link.
Auto Approval Configuration
Events that satisfy certain criteria may bypass the approval process by setting up Auto Approvals. This will move the event through the approval process up to and including publishing permissions.
To configure Auto Approvals:
- Click on (Module) Approval Configuration from the approval type menu.

- In the Evernt Approvers window, click Configure Auto-Approvers.

- To add a new condition, click on the blue plus button.
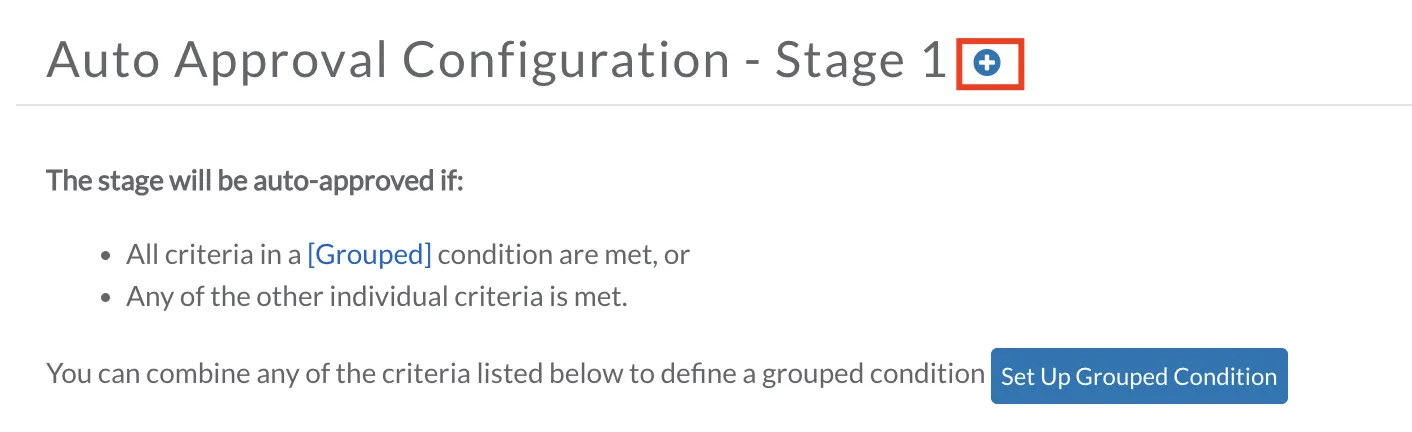
- Select a Custom Field from the drop down.
- See setting up Custom Fields here: Events
- Select the option that satisfies the condition that the approval will be bypassed.
- In the example below, the approval stage will be bypassed if the budget range for the event is less than $1,000.
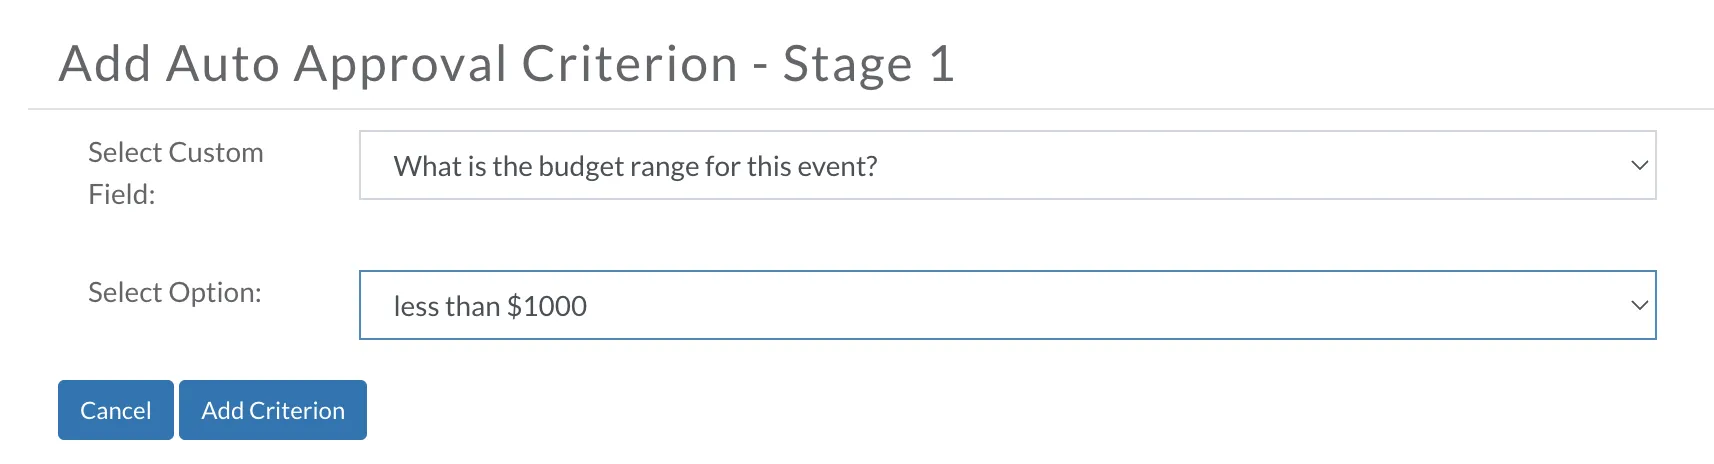
- Click on Add Criterion to save.
- Complete these steps for each approval stage as needed.
Group Leader Process
My Approvals
To access your pending approvals:
- Click on your avatar in the upper right and navigate down to My Approvals.
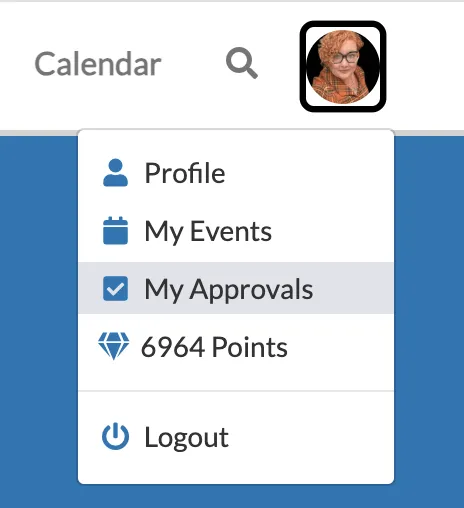
- This will take you to a page listing all approvals that have been requested.
- Click on the Action button next to the communication to be approved.
- Choose View Details to see all the information about the event, including a link to the event page.
- Choose Assign To to choose another approver if needed.
- Choose Approve/Deny to allow or deny publishing rights.
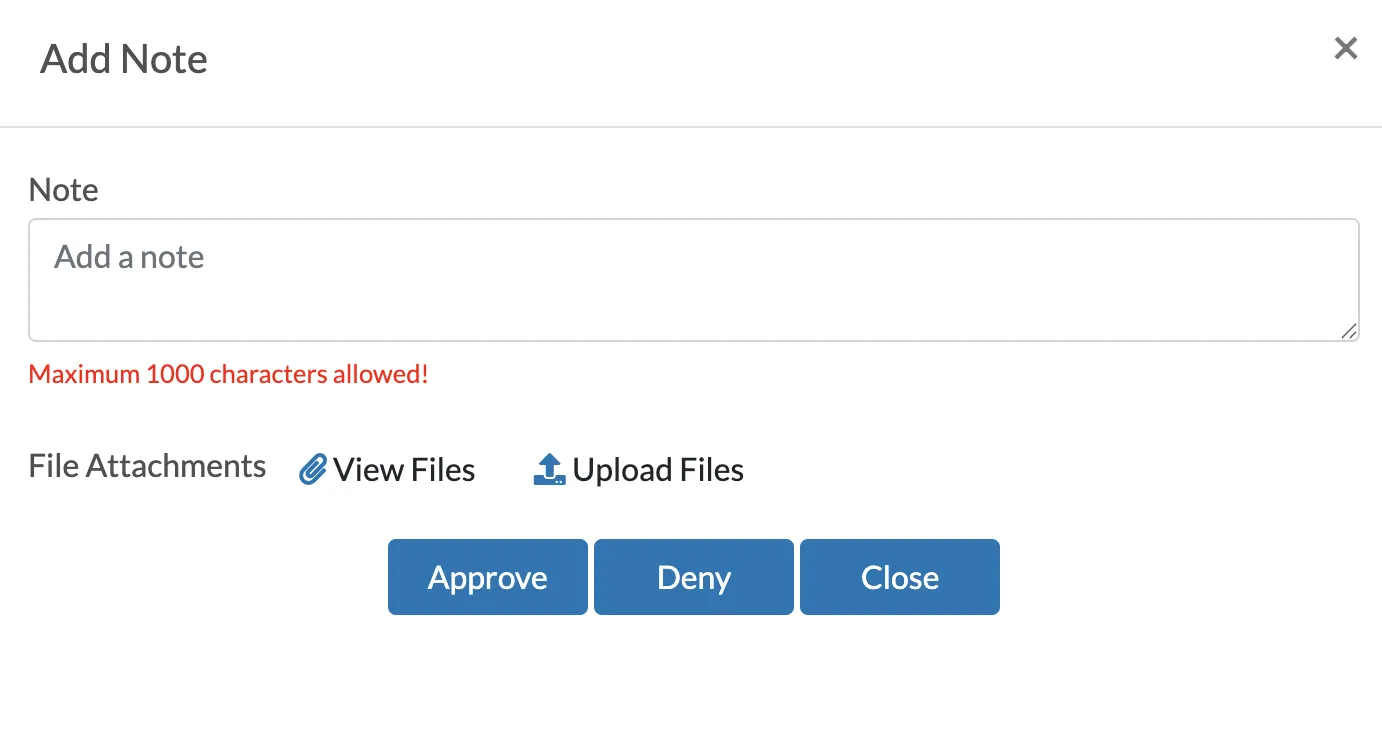
- Add in any notes or attachments needed.
- Click Approve or Deny to send the notification to the event creator.
- Choose Cancel Request to remove the request without performing any action.
- Enter in the reason for the cancellation.